How to Install Smokin Kodi Build on Firestick/Android
In this guide, you will learn How to Install Smokin Kodi Build on Android and Firestick devices. Kodi is unquestionably the most popular media center software available today. With Best Kodi Builds and Best Kodi Addons you can stream movies, tv shows and your favorite entertainment program.
The application falls under the open source license which means that it is 100% free and it does not include annoying advertisements.

Kodi 20 Nexus has officially been released and it's now considered the “stable” version of this software.
This version of Kodi came fully packed with new features and changes, the most important of which was the adoption of python 3 instead of python 2. This means that many third-party addons are no longer working on Kodi Matrix.
Smokin Kodi Build Video Tutorial:
How to Install Smokin Kodi Build
· If you're using a VPN, please check your Kodi proxy settings to avoid network connection issues.
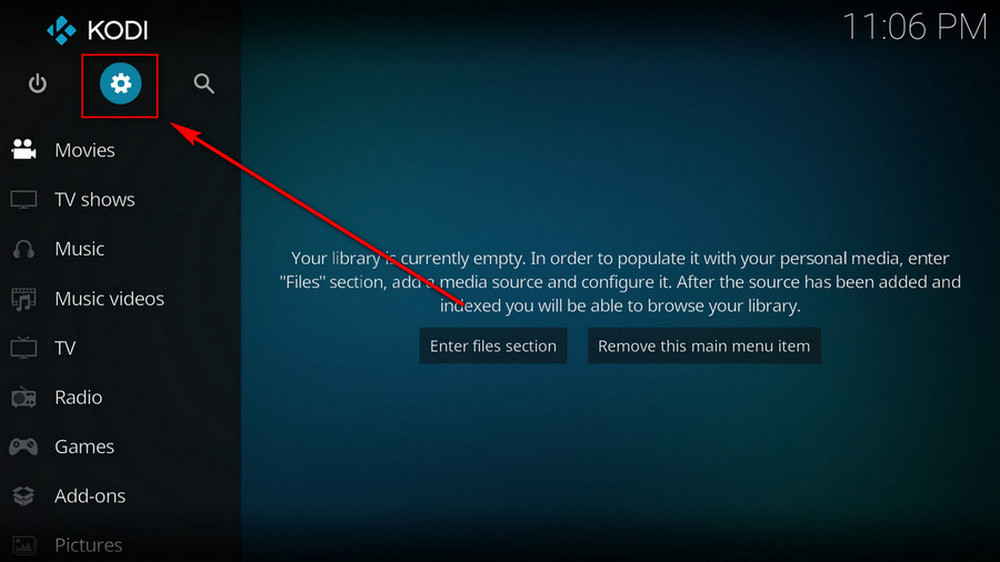
Step 1. Launch Kodi. Hit the cog icon from the upper side of the left pane to enter System.
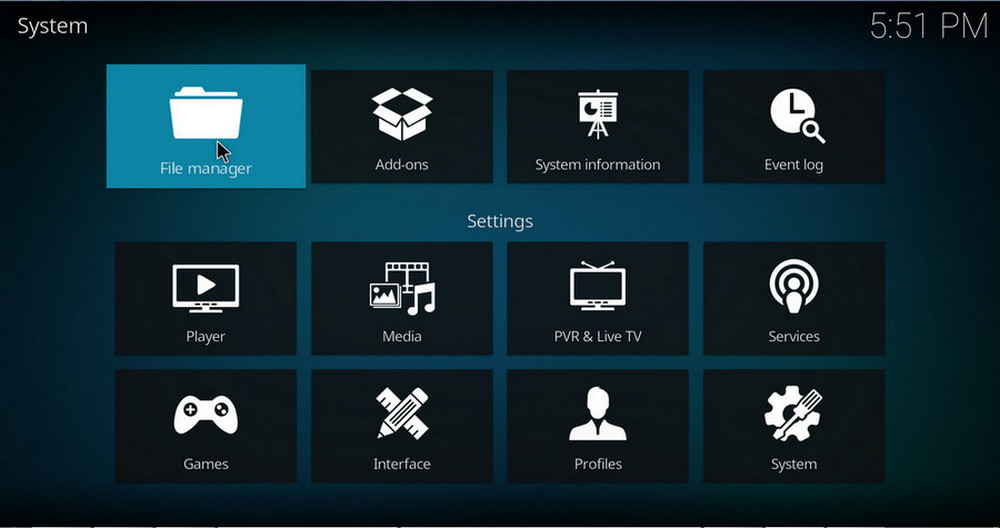
Step 2. Hit File manager from System page.
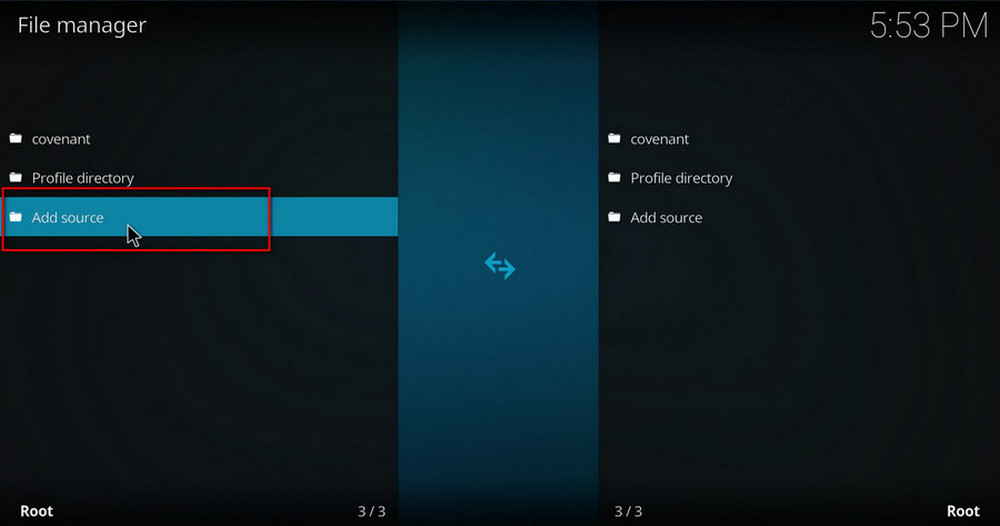
Step 3. Double hit Add source from the left column.
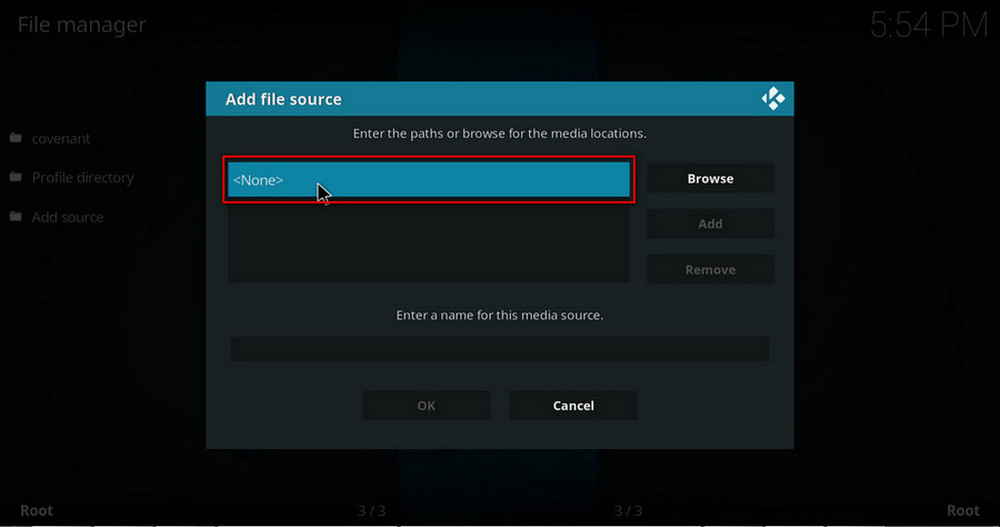
Step 4. Click <None> from the box in the middle.
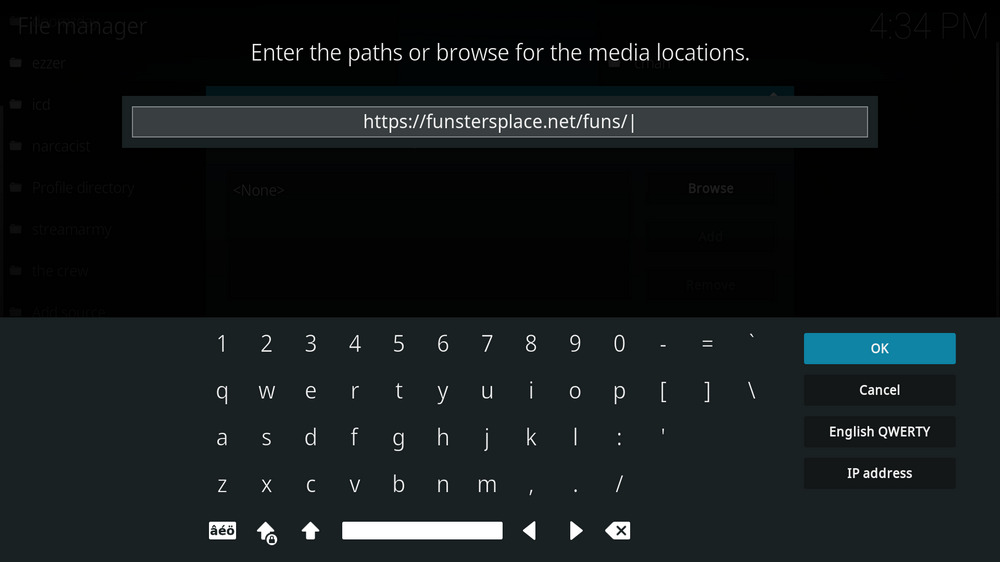
Step 5. In the pop-up box, copy & paste or type in exactly https://ift.tt/Q5VfEAt to the media location box, and hit OK button from the lower-right side. Check for typos, and try replacing http with https, if you encounter Couldn't retrieve directory information.
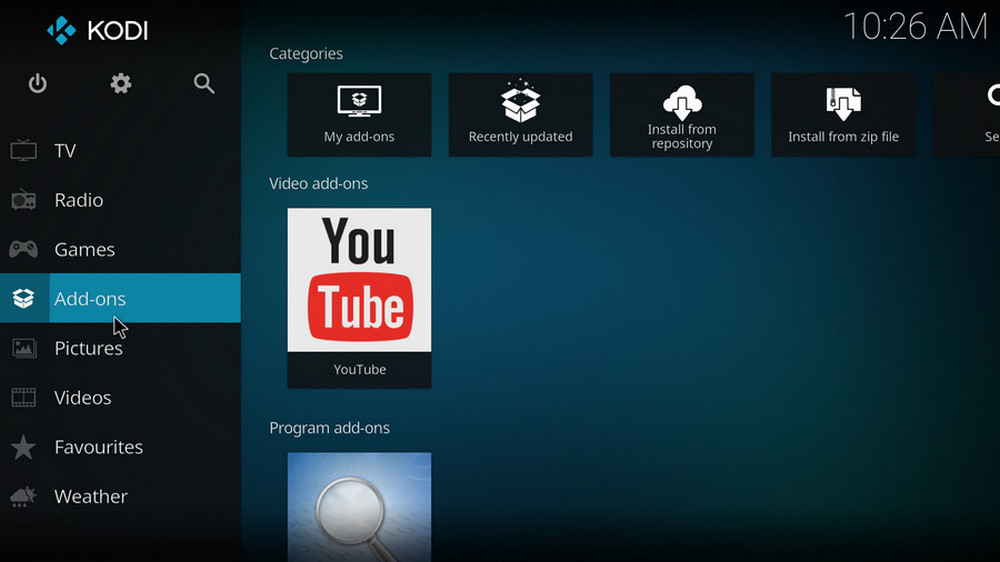
Step 7. Then get back to the main menu. Click Add-ons from the left panel.
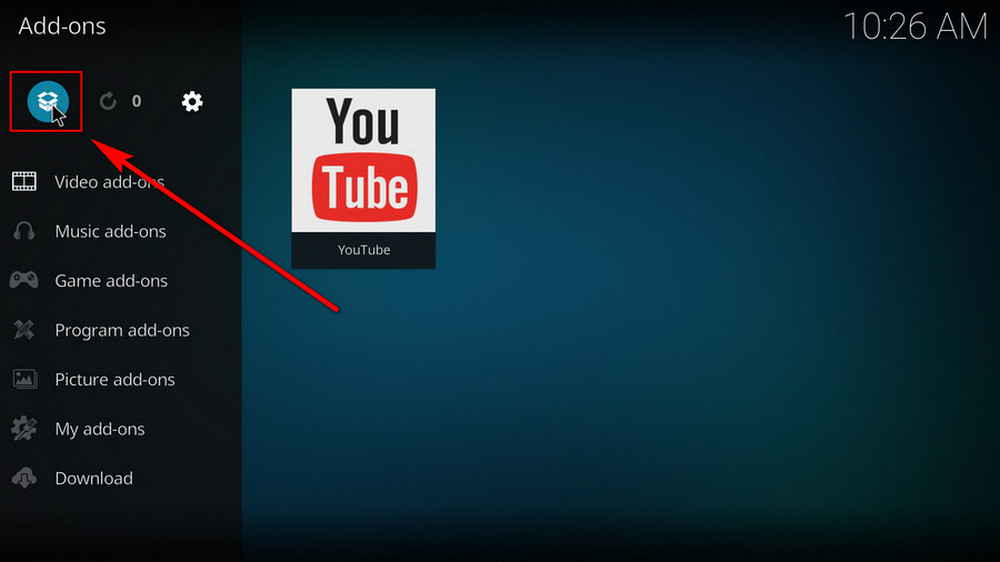
Step 8. Click the box icon from the upper side of the left pane.
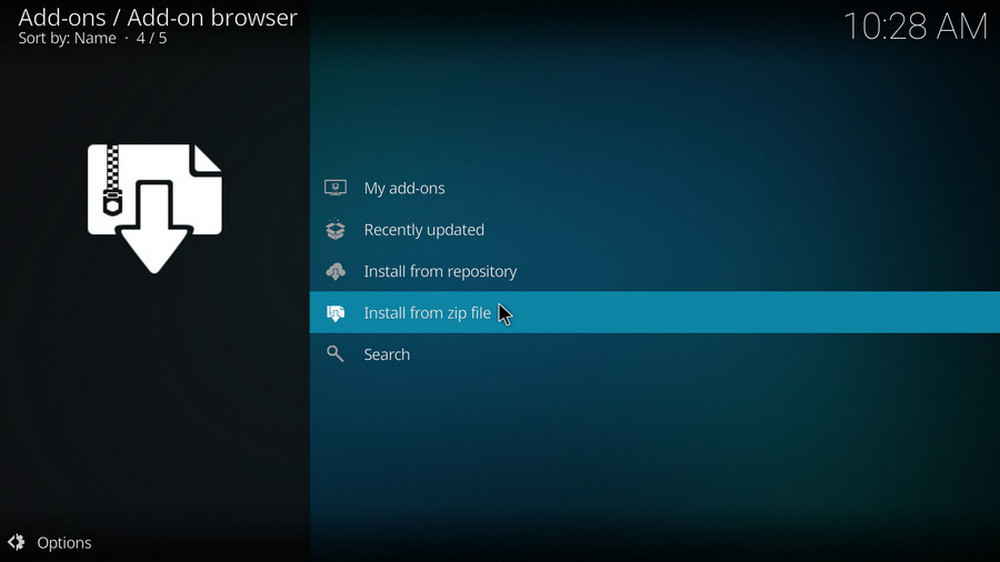
Step 9. Select Install from zip file. For first-time users, click Settings in the popup dialog to allow Kodi to install ZIP files from unknown sources, if you haven't done that already. On Kodi 19, click OK to close the pop-up warning dialog.
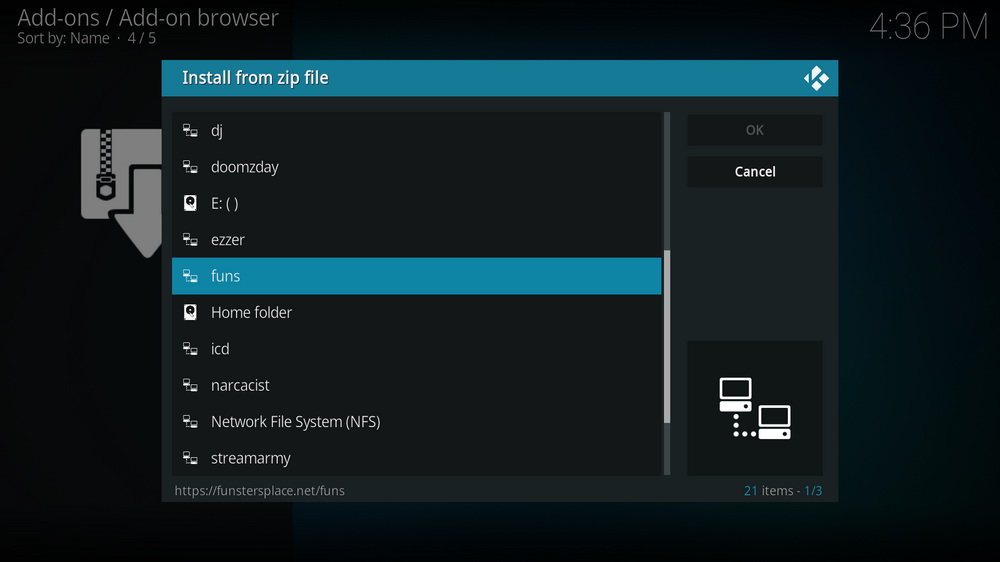
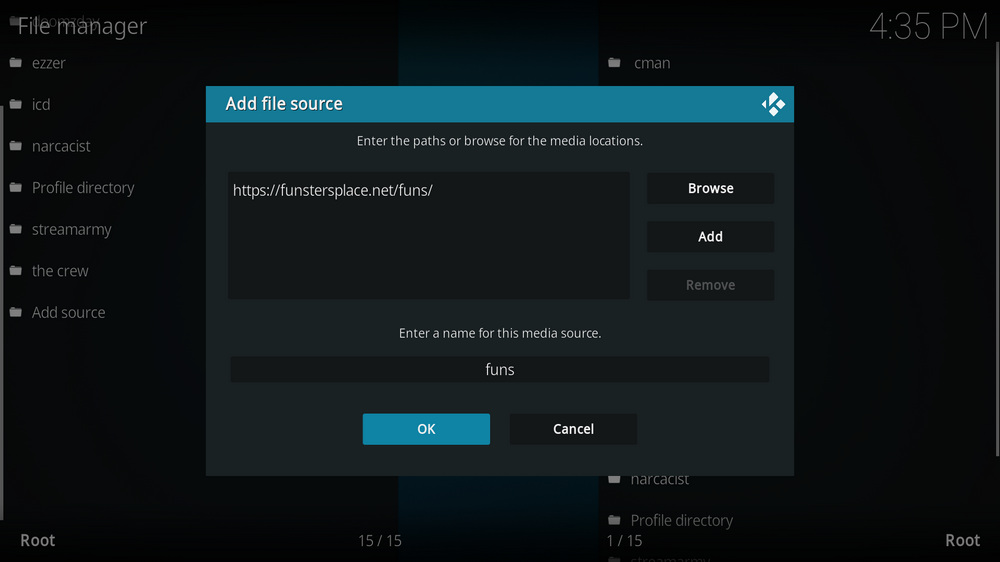
Step 10. Select the media source funs we just added to Kodi.
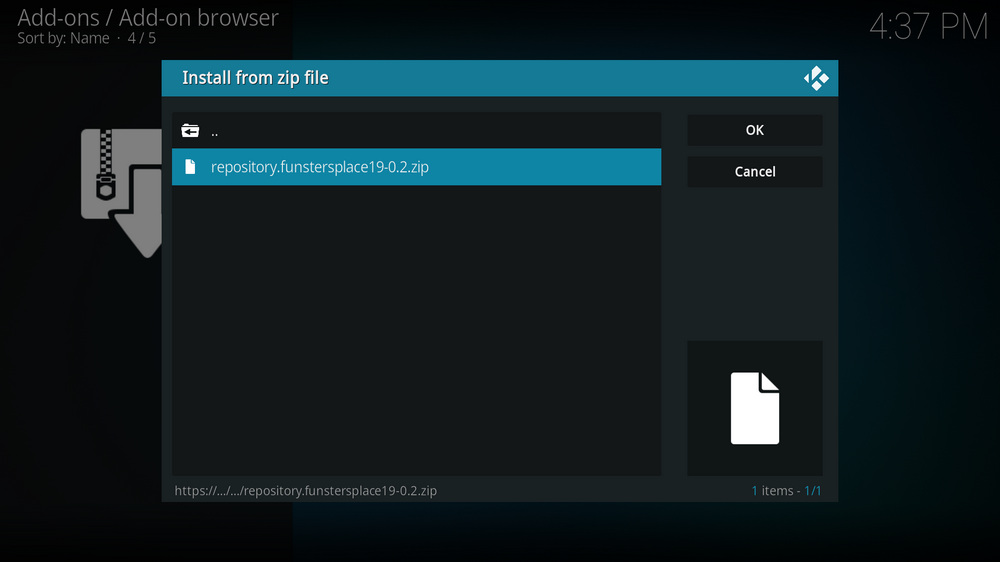
Step 11. Select the .zip file within. If you see failed to install addon from ZIP file, check your internet connection, reboot Kodi, and install again.
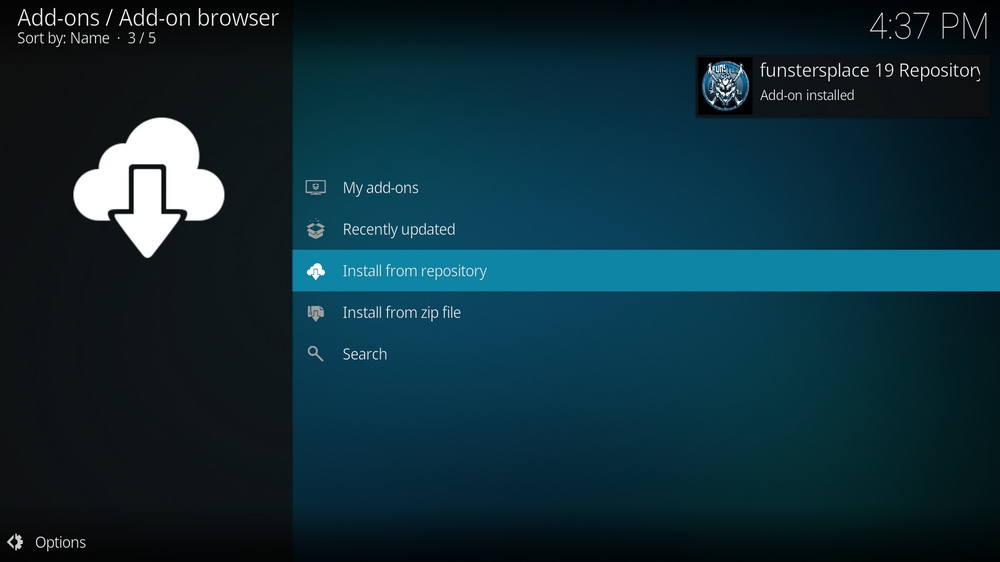
Step 12. Wait until you can see a message pops up on the upper-right side saying funstersplace Repository Add-on installed. Please note that's just the installation of the repository, then it's time to add addon to Kodi from repository. Select Install from repository from the current screen.
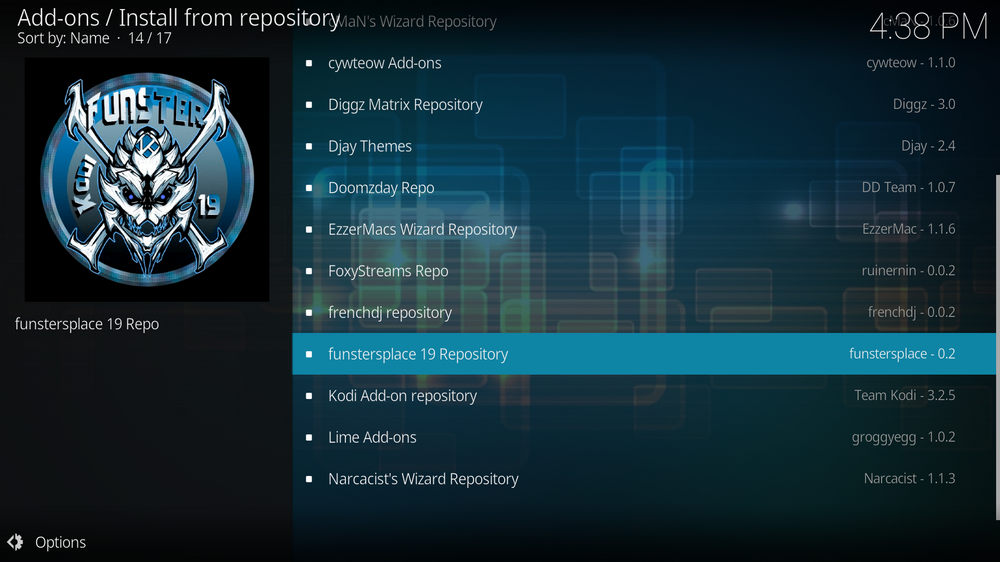
Step 13. Select funstersplace Repository. If you encounter "Could not connect to repository" error message, check out our troubleshooting.

Step 14. Select Program add-ons.
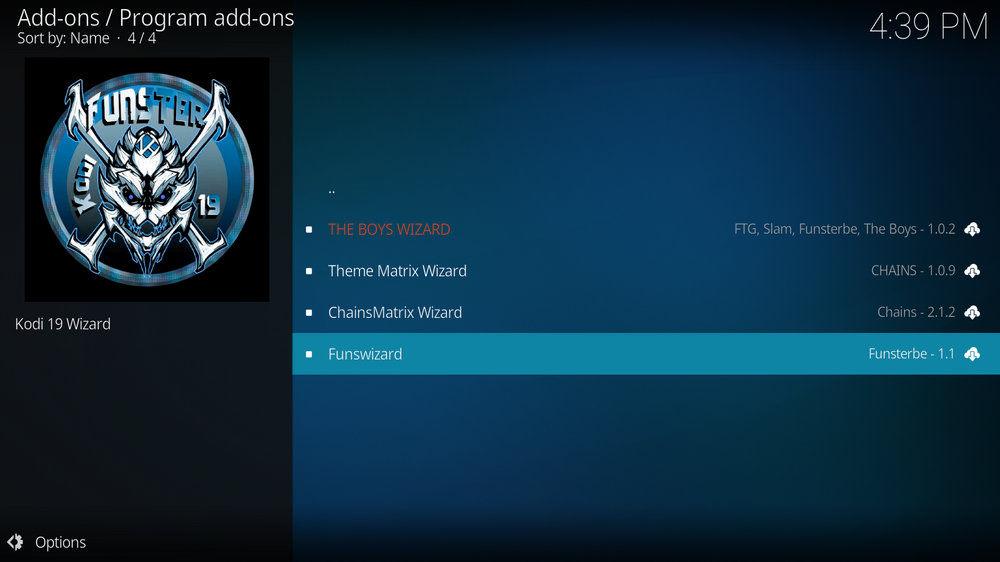
Step 15. Locate and select Funstersplace Wizard.
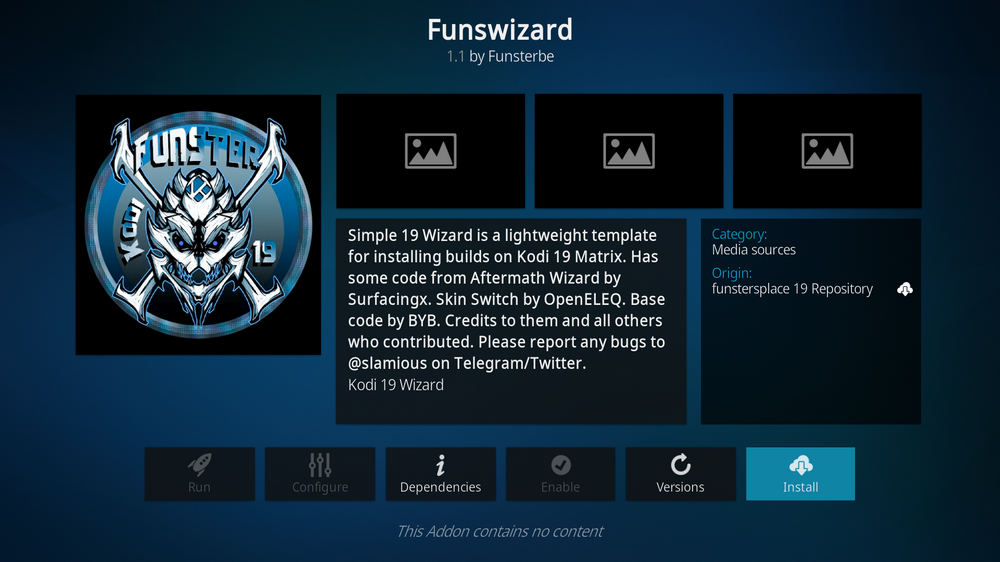
Step 16. Hit Install from the lower-right side to install Funstersplace Wizard addon.
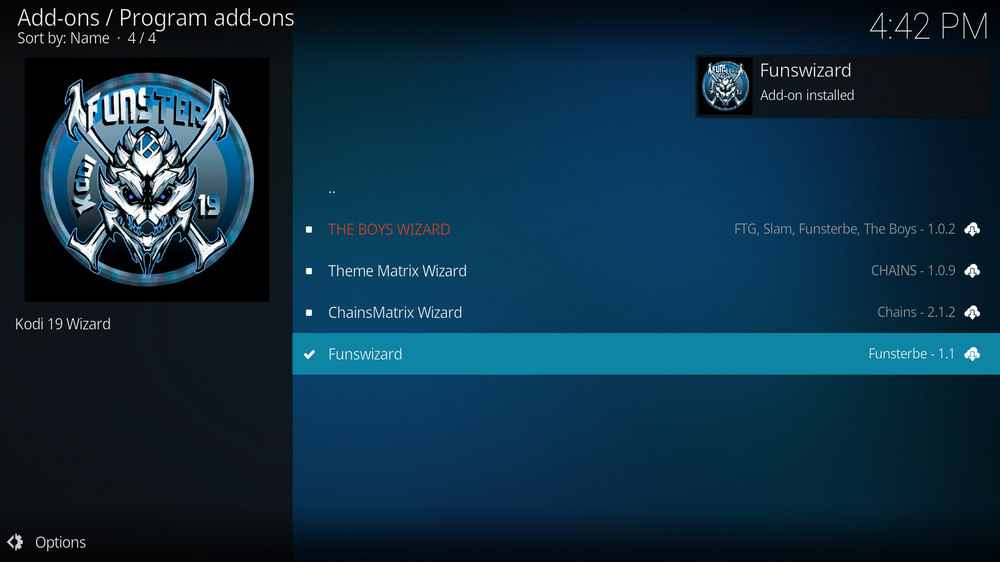
Step 18. Then Funstersplace Wizard should automatically launches, if not, run it from Kodi Program add-ons.
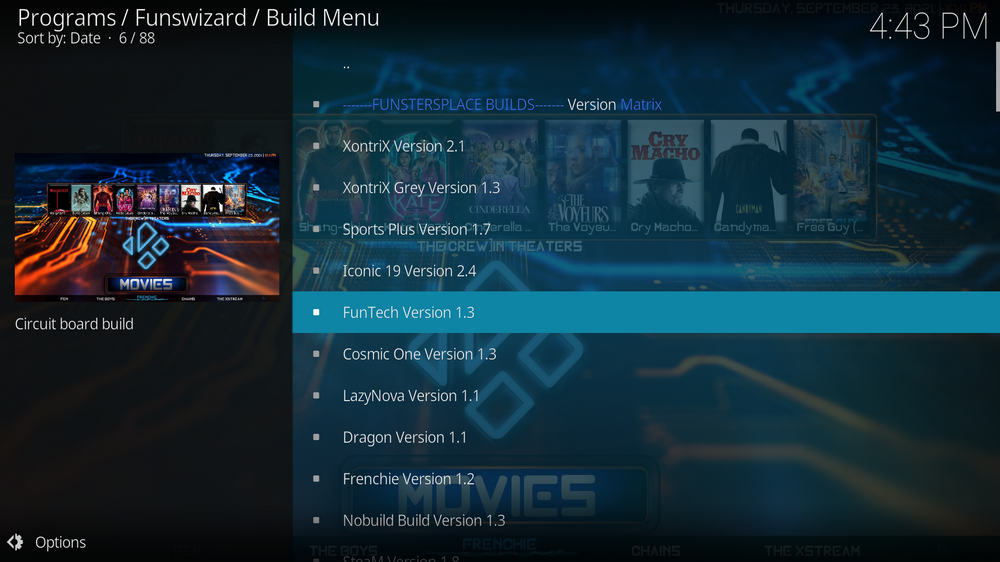
To install builds in Funstersplace Wizard, when Funstersplace Wizard is launched, select the Builds menu from the upper-left quadrant.
Select your favored build from the left column > select Fresh Install in the middle screen > wait for the wizard to download and install the selected build. When the build is installed.
Reboot Kodi and give the new build 5 minutes to load things up.
from Everything Kodi Builds https://ift.tt/tqIN0yM


Σχόλια
Δημοσίευση σχολίου